


Free Hourly Invoice Template for Excel & Google Sheets

Creating invoices from hourly work can take time when you have to calculate hours, rates, and extra charges manually. Use this free Hourly Invoice Template to record billable hours, apply rates, and prepare accurate invoices for your clients.
Get the Free Hourly Invoice Template
Create professional hourly invoices with a simple spreadsheet designed for time-based billing. It includes:

Client and invoice details
Billable hours and rates
Service charge calculations
Expense records
Invoice totals
Time and expense logs
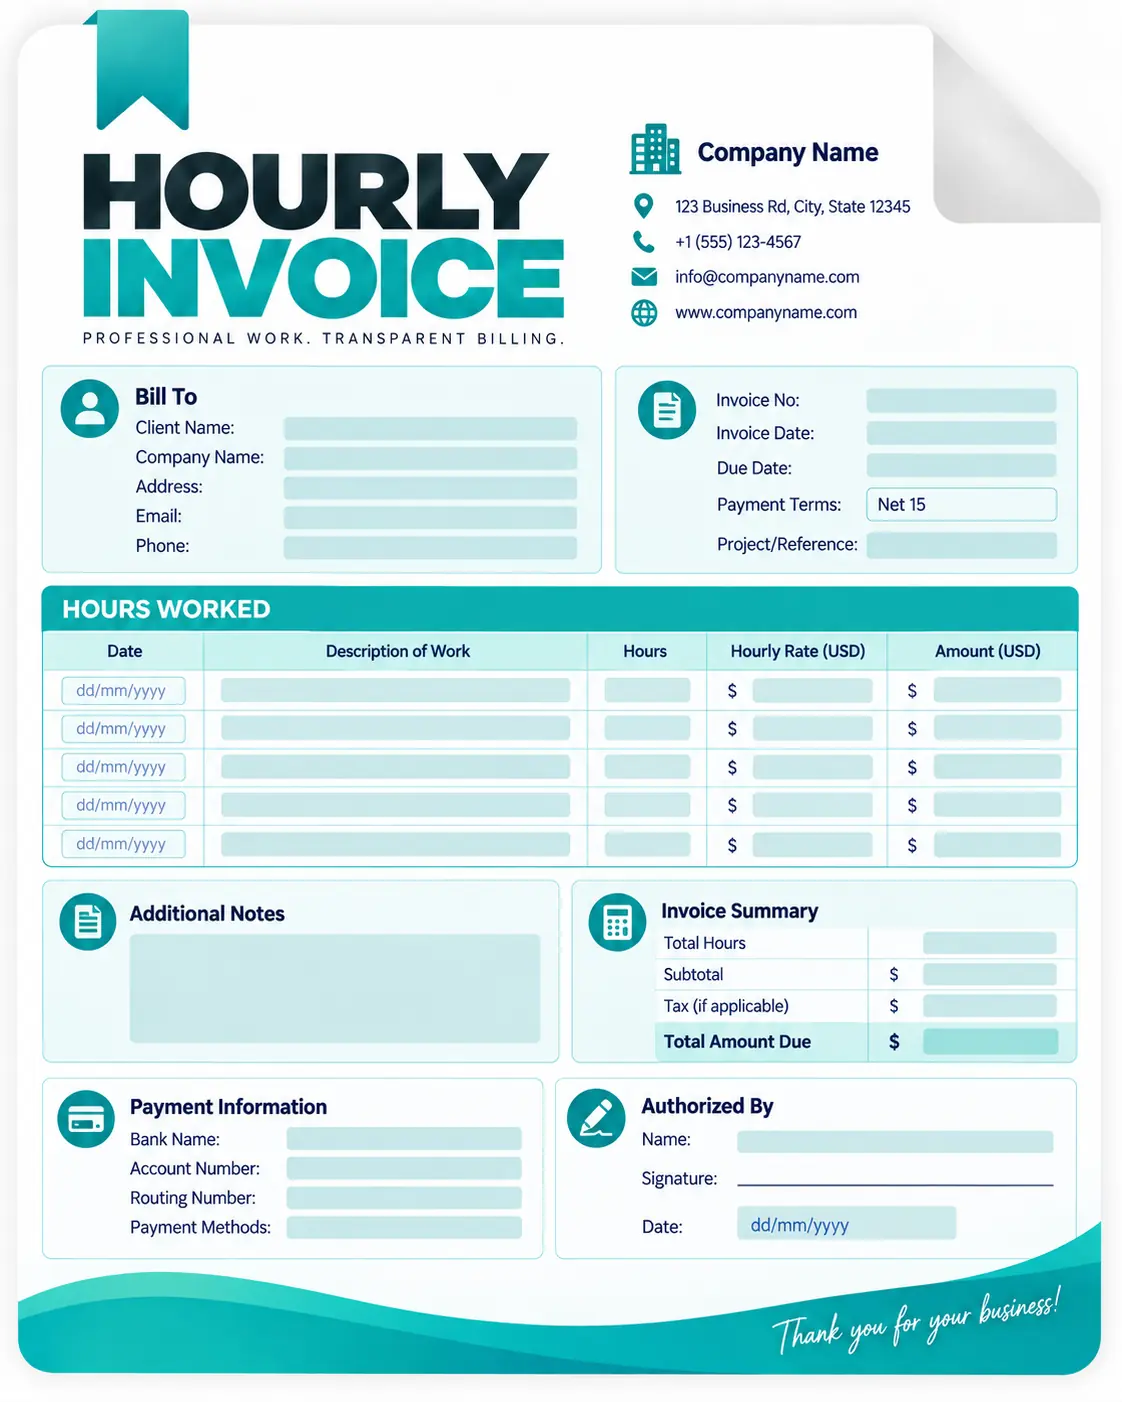
What Does an Hourly Invoice Template Do?
An hourly invoice template is a ready-made billing document for businesses or individuals who charge customers according to the amount of time spent on a service or project.
Instead of creating every invoice from scratch, you can enter the work details and rate for each service. The template calculates the amount for each line using:
Hours Worked × Hourly Rate = Line Total
An hourly invoice can also include additional expenses, discounts, taxes, payment terms, and other information the client needs before making payment.
What Can You Record in This Invoice Spreadsheet?
The template includes several areas to help you organize the complete billing process.
Client and Business Details
Add the information needed to identify both parties, including:
- Business or freelancer name
- Business email
- Business address
- Client or company name
- Client email
- Client address
- Invoice number
- Invoice date
- Payment due date
- Billing period
- Currency
Hourly Services and Billable Work
The main invoice table lets you list the work performed during the billing period. You can add:
- Work date
- Project or service
- Description of the work
- Number of hours
- Hourly rate
- Calculated amount
Automatic Hourly Calculations
The spreadsheet calculates each service amount from the hours and hourly rate. For example, 8 hours × $50/hour = $400. This reduces repetitive calculations when an invoice contains multiple services or different hourly rates.
Expenses and Additional Charges
The template includes a separate expense log where you can record:
- Expense date
- Client
- Expense description
- Category
- Amount
- Whether the expense is reimbursable
You can then include the relevant expenses when preparing the final invoice.
Invoice Totals
The invoice includes a summary area for reviewing the amount due. It can account for:
- Total billable hours
- Service subtotal
- Expenses
- Discounts
- Tax
- Final amount due
Payment Information
You can also add payment terms and instructions so the client knows when and how to pay. This section can describe your preferred payment method, payment instructions, or other notes related to the invoice.
How to Fill Out the Hourly Invoice Template
You can prepare an invoice in a few simple steps.
Step 1: Enter Your Business Information
Start by adding your company or personal business details. Include your name, email address, and business address.
Step 2: Add the Client Information
Enter the client's name, email, and billing address. If you work with several clients, make sure you are using the correct information for the invoice.
Step 3: Assign the Invoice Number
Give every invoice a unique number. A consistent numbering system makes it easier to find invoices and keep your billing records organized.
Step 4: Set the Billing Period
Enter the start and end dates for the work included in the invoice. This is especially useful when you bill clients weekly, biweekly, or monthly.
Step 5: Add Your Billable Hours
Enter each service or project, the date the work was completed, the number of hours, and the applicable hourly rate. The template calculates the amount for each line based on the hours and rate.
Step 6: Include Reimbursable Expenses
If the client agreed to cover project-related expenses, add them to the expense section and include the applicable amount in the invoice.
Step 7: Review Discounts and Taxes
If you need to apply a discount or tax, enter the appropriate amount in the invoice summary. Tax requirements can vary depending on your location, business structure, and client, so verify the applicable requirements before sending an invoice.
Step 8: Add Payment Instructions
Include your payment terms and preferred payment method. You can also add any notes that the client should know before making payment.
Step 9: Check the Final Amount
Before sending the invoice, review the hours, rates, expenses, discounts, taxes, and total amount due.
Get the Free Hourly Invoice Template
Create professional hourly invoices with a simple spreadsheet designed for time-based billing. It includes:
Client and invoice details
Billable hours and rates
Service charge calculations
Expense records
Invoice totals
Time and expense logs.
How Does Hourly Client Billing Work?
Hourly billing is based on the amount of time spent providing a service. The basic process looks like this:
Track work → Record hours → Apply hourly rates → Add expenses → Calculate charges → Review invoice → Send to client
For example, imagine a consultant works on three tasks for a client:
- Research: 5 hours × $50 = $250
- Consultation: 3 hours × $75 = $225
- Reporting: 4 hours × $50 = $200
The service subtotal would be $675 before applicable expenses, discounts, or taxes.
The important part is keeping accurate records of the time worked. If the hours are incorrect, the invoice will also be incorrect.
Why Use an Hourly Invoice Template?
An hourly invoice template can help you:
- Keep invoice information organized
- Reduce manual calculations
- Show clients how charges were calculated
- Separate services and expenses
- Maintain consistent invoice formatting
- Review billing information before sending
- Reuse the same structure for future invoices
When Should You Use an Hourly Invoice?
An hourly invoice works well when the final price depends on the actual time spent on a project or service.
Common examples include:
- Freelance writing
- Graphic design
- Web development
- Consulting
- Marketing services
- Virtual assistance
- Accounting services
- IT support
- Legal or professional services
- Agency work
- Contract work
If your clients are billed according to hours worked rather than a fixed project price, an hourly invoice can provide a clear breakdown of the charges.
Free Hourly Invoice Template vs. Apploye
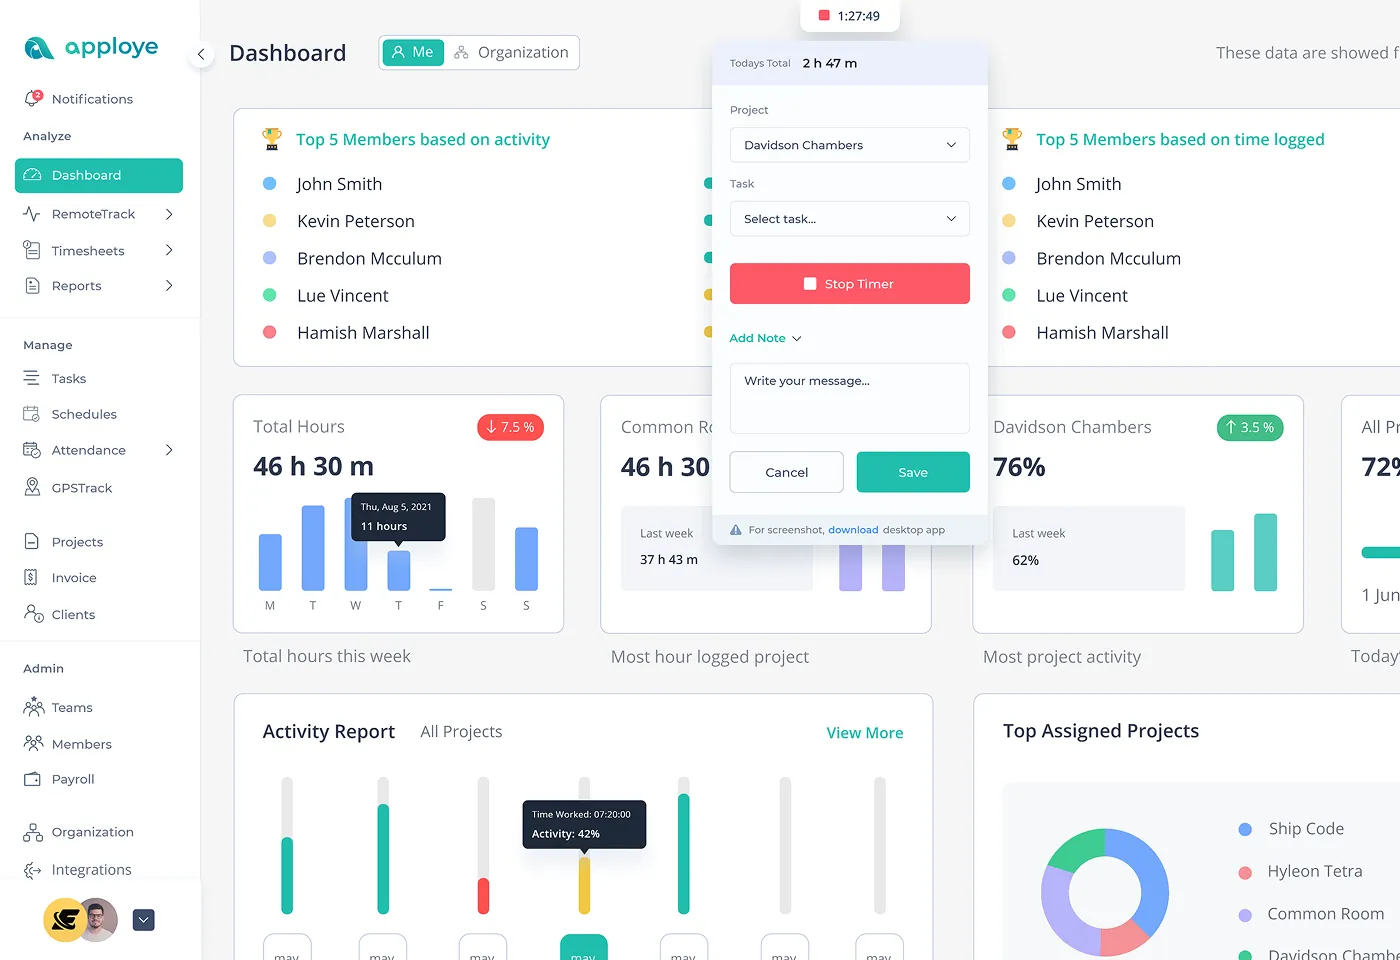
A spreadsheet works well for preparing an invoice after you already know the hours worked. However, the bigger challenge can be collecting accurate work data before the invoice is created.

Create Hourly Invoices Automatically with Apploye
Start tracking hours free